To get your ad-free printer friendly copy of this pattern with direct links to each stitch tutorial on LoveCrafts click here. From Etsy click here. Keep scrolling for the free version.
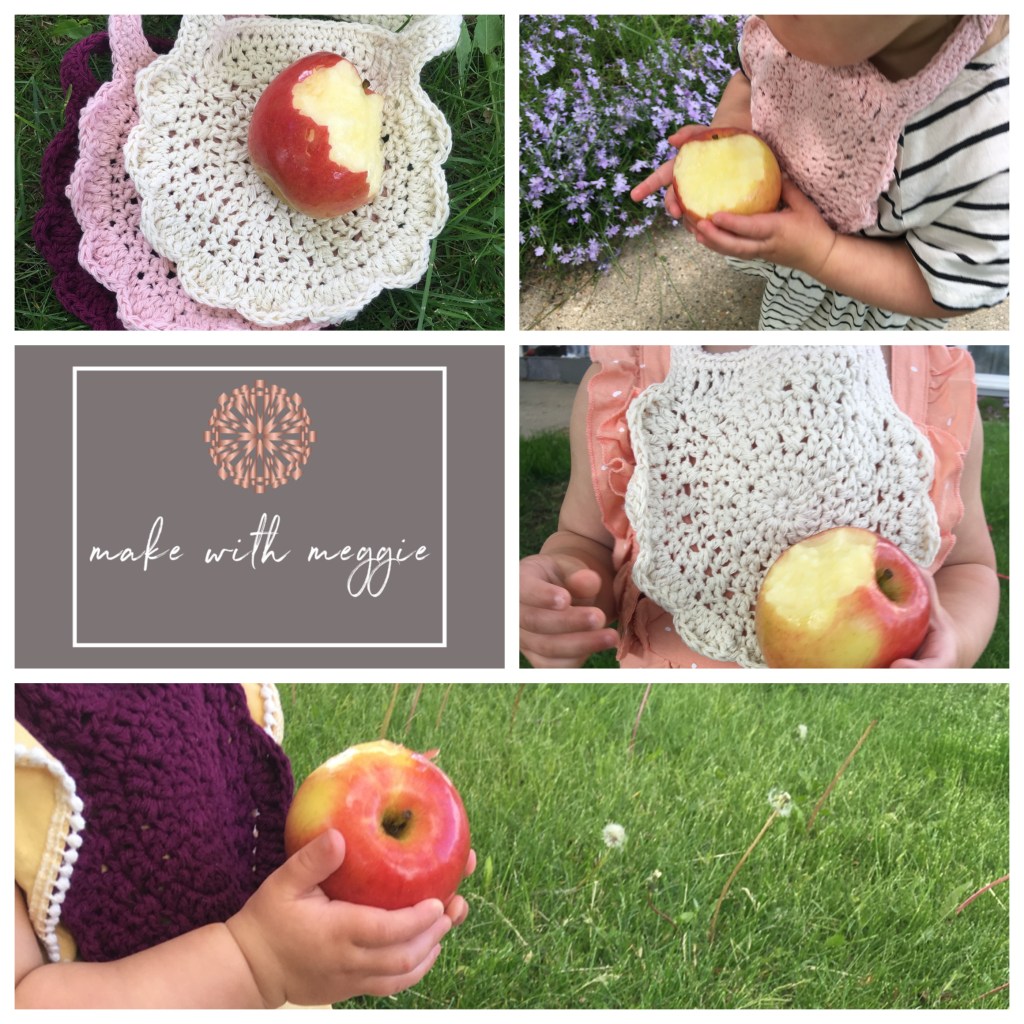
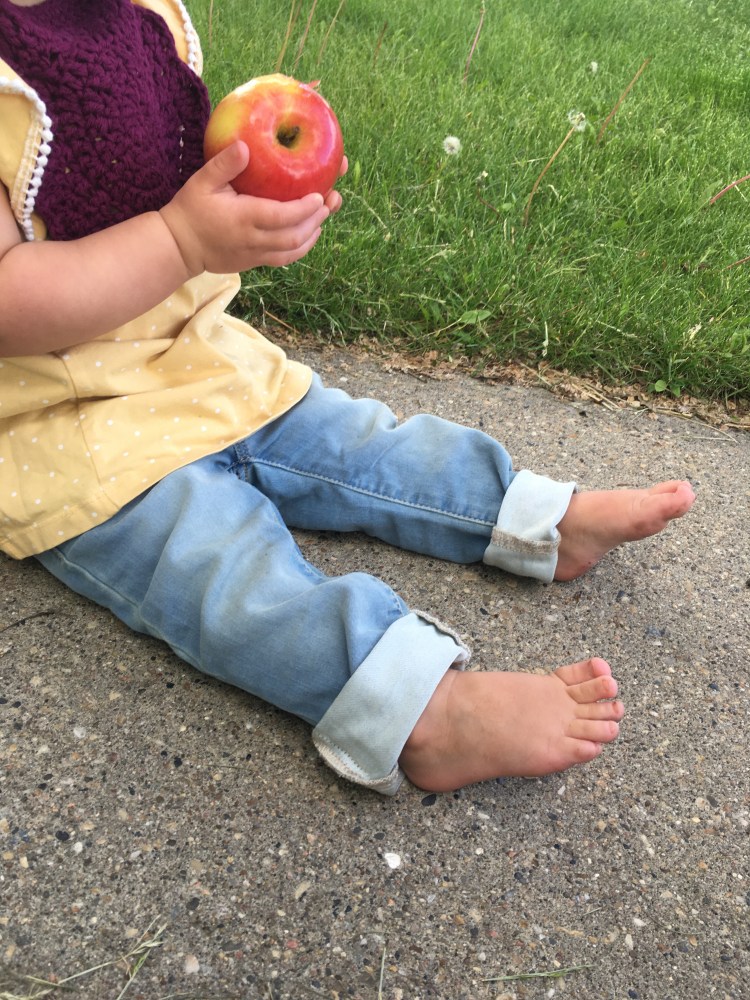
At our house, apples are a favorite with our youngest (O). She will nibble on a whole one all afternoon until it’s gone, often the core too! While her father and I love her enthusiasm for fruit, I don’t love the brown stains on her clothes from the apple juice dribbling down her chin. The solution? A bib of course. Which since it’s used for a good part of the afternoon, specifically because of her apples, we refer to as apple bibs here.
I used some hand-me-down-from-big-brother (little A) drool catcher bandanas for a while. And they’re cute. But since she often spends so much time with one on, I of course wanted some cute, girly ones that would look great with her clothes. So I had to make some.
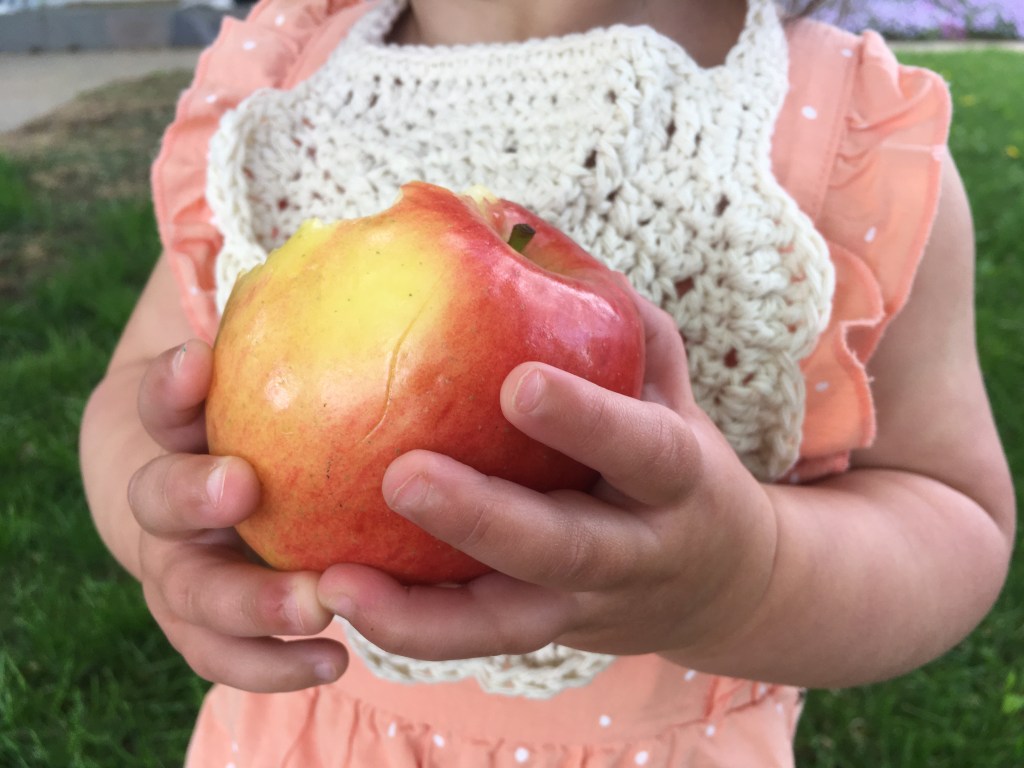
I love vintage inspiration. I love lace. I love texture. A bib can only have so many holes of a certain size before its not practical, so I went for subtle texture changes while keeping the fabric ‘dense’ enough to still function as a bib. I also couldn’t resist adding some cute petals to give a little more shape and a hint of ruffle, and the little curl on the edges of them give just a bit of pop.
I have recently discovered Paintbox yarns recycled cotton. It’s worsted weight and comes in a beautiful, easy to coordinate range of colours. It’s more flexible and has more drape than some other cotton yarns I have used making a wonderfully flexible fabric that is not stiff or bulky at all.
I plan on giving this yarn it’s own post later, you’ll also find it as my yarn of choice for some other upcoming patterns. I don’t want to end up repeating myself too much but I will say it washes very well! The jam coloured bib was washed on a sanitary (hot!!!) cycle with our dishtowels before I had a chance to test it for dye run and nothing came out a different colour than it went in. It went in the dryer after that (again hot) and although maybe a bit crumpled it still measures 7″ across the widest point as it did when I just made it. I have to say I’m quite impressed!
I love making pieces without having to break yarn and reattach whenever possible and I’m happy to say I accomplished that here. The bib is made from a total of 9 round, 7 joined, the last 2 continuous.
This bib will fit from newborn to toddler. I like using the large plastic snaps like the ones on cloth diapers, but a button will do fine as well. If the straps seem to long, simply add more snaps or an extra button to make it adjustable. This fits quite well on O who is one and a half next week (I’m not crying, you’re crying!) and it definitely would have fit her well a while ago too, so extra fasteners are likely only necessary if you intend to use it as a spit up or drool catcher for awhile before foods. Neck openings on bibs always look so small to me but I actually did it up around my own neck and it wasn’t uncomfortable. If you are doing it for a larger child, you may want slightly longer straps simply so it sits lower down, but I probably would add no more than 5 chains and stitches to each tie.
The free pattern is below, to get that downloadable ad-free printer friendly pdf here’s the links again for LoveCrafts and Etsy.
Share your finished piece with me! Use #makewithmeggie and/or #appleblossombib and don’t forget to like, share, comment and subscribe!
Materials
Yarn: 4 weight (worsted) cotton. I used Paintbox Recycled Cotton in Jam, Peachy and String. Skeins are 3.5 oz, you will need less than 1.8oz to make one bib.
Hook: 5mm (H) I like Clover Amour. Get it here, or get the set with a case here. (As an Amazon Associate I earn from qualifying purchases.)
Notions: scissors
needle to weave ends. I like these lacing needles. (As an Amazon Associate I earn from qualifying purchases.)
Option 1: snaps (I used the large plastic snaps for cloth diapers) and snap installer appropriate for snaps being used
Get a kit with tons of snaps and everything to install them here. (As an Amazon Associate I earn from qualifying purchases.)
Option 2: one 1/2”- 3/4’ diameter button (I find ones with printed designs on them tend to lose the designs in the wash, especially on wood buttons
Gauge: Measures approx. 2 1/4” across after first three rounds
Stitches Used: magic circle, ch (chain), sc (single crochet), slst (slipstitch), hdc (half double crochet), dc (double crochet), sk (skip) , trc (triple crochet), fpdc (front post double crochet), bpdc (back post double crochet
US terms used throughout. Do not count turning chains. Tutorials available here and on YouTube
Method
Round 1: Sc 8 in magic circle. Join, ch 2. (8)
Round 2: 2 dc in each stitch around. Join, ch 1. (16)
Round 3: [hdc, 2 hdc in next] around. Join, ch 2. (24)
Round 4: [sk 1, dc in next, dc in skipped stitch, 2 dc in next] around. Join, ch 2. (32)
Round 5: [dc 3, 2 dc in next] around. Join, ch 2. (40)
Round 6: [sk 1, dc, dc in skipped, sk 1, dc, dc in skipped, 2 dc in next] around. Join, ch 1. (48)
Round 7: [hdc 5, 2 hdc in next] around. Join, ch 3. (56)
Round 8: trc 3, dc 2, hdc, sc 8, hdc, dc 2, trc 3, ch 20. Sc in second from hook, sc 18 in
back ridges. Sc 2 in side of trc and sc 1 in same stitch as trc. [2 dc in next, 2 trc in next, 2 dc in next, sc in next] 9x, make sure not to work in joining slst of Round 7. Sc 2 in side of trc, enclosing turning chain beside trc. Ch 20, sc in second from hook, sc 18 in back ridges.
Round 9: Sc across top of neck (20) and up and down both sides of neck tie and next 3 sc being sure to work 2 sc in end of tie. When you reach the first dc, [fpdc 2, fptrc 2, fpdc 2, slst] 8x, fpdc 2, fptrc, fpdc 2, sc 3. Sc around tie, working 2 in end and skipping last stitch of tie. Slst in first sc of top of neck (this pulls the tie to a better angle). Finish off.
Finishing
Weave ends.
Option 1: Follow instructions for your chosen snaps to attach snaps at end of ties. Make sure you use opposing snap pieces and that you will be able to close it without twisting one tie.
Option 2: Sew button at end of one tie on top . Join yarn at end of other tie and ch until just long enough to fit over button when folded into a loop. Slst in same place you joined. Break yarn, weave ends.

One thought on “Eat your heart out”