Just after completing my first designs, I was talking about crochet with a friend who mentioned she was looking for a nice tea cozy pattern. I had looked at a lot of tea cozy patterns before and immediately knew why she’d been having trouble finding one she liked. They tend to be, well, dated. So I immediately decided to get to work on something a little more modern, but still a bit traditional since it is still a tea cozy!
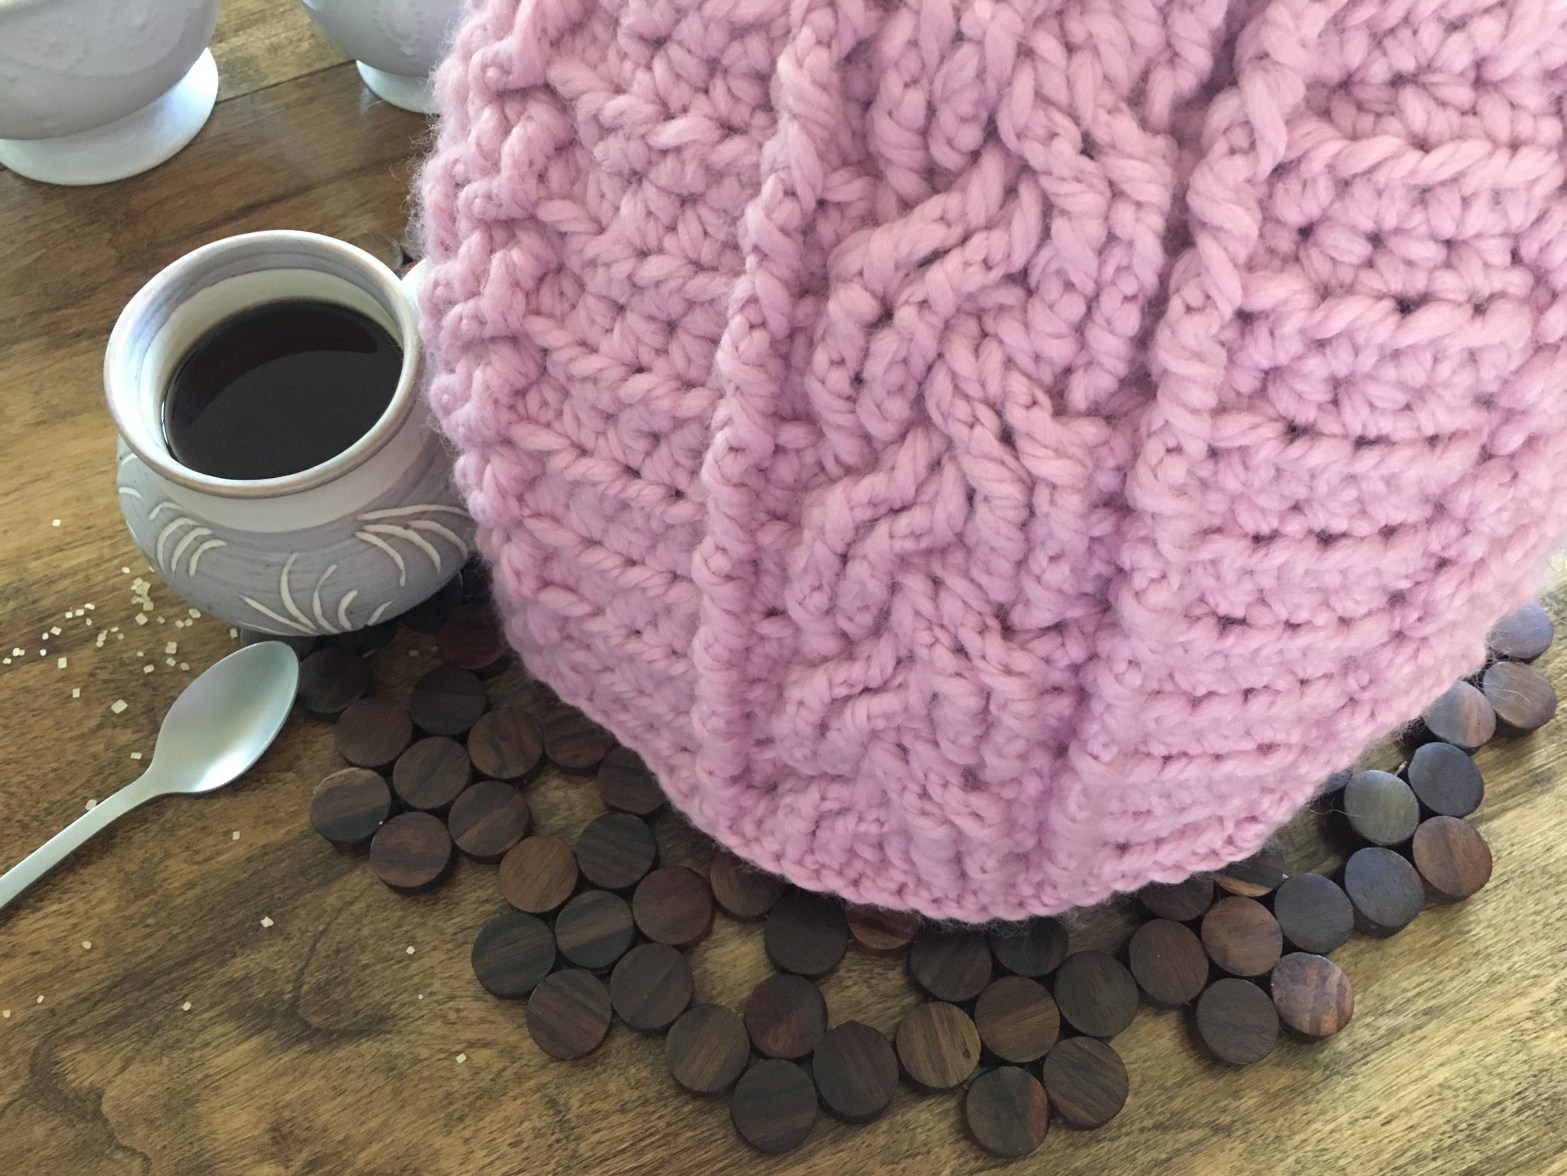
I’m delighted to introduce to you the “Hygge Tea” tea cozy. It’s the chunky cabled sweater your teapot has always dreamed of. . (skip the rest and get it on LoveCrafts here or Etsy here)

Designed to be simple, using only one colour throughout (unlike most tea cozies I’ve seen) in a super bulky yarn for ultimate cozy vibes, it will keep you in as many cups of hot tea as you can drink before you have to leave your cozy blanket to pee.
I chose Lion Brand’s Wool Ease Think n’ Quick for this project right away. Not only did I want that chunky look, but the wool content makes it an excellent choice for conserving heat. I also adore the range of colours available in this line. I designed this with a solid (or perhaps even flecked) colour in mind, but with so many beautiful variegated colourways available, if you want yours to be striped, well you do you!
This is not an advanced pattern, however it isn’t suited for new beginners either. You should be comfortable with both front and back post stitches or looking for a manageably sized project to practice them in.
If you know how to do post stitches and are new to cabling, welcome to you newest addiction! It is so satisfying to see the cabling pattern develop over the repeated rows. Just remember to check you are working in front of or behind the last two stitches made (as indicated) when going back to work in stitches previously skipped. When working in front, it will mean working down through a sort of hole or pocket. Be sure you both reach the hook down through this space and bring it up through the same space after going round the post.
The written pattern is follows here for free, but you can purchase your ad-free downloadable pdf version complete with chart and links to stitch tutorials. Click here for LoveCrafts or here for Etsy.
Materials
Yarn: 6 weight; preferably with some wool content, I used 12 oz of Lion Brand Wool- Ease Thick’n Quick in Blossom
Hook: 7mm I like Clover Amour. Get yours here. Get the set and case here. (As an Amazon Associate I earn from qualifying purchases.)
Notions: needle to weave ends, I like lacing needles like these. (As an Amazon Associate I earn from qualifying purchases.)
scissors
Gauge
not very important unless you have an unusually large or small teapot or crochet very tightly or loosely.
Mine measures 3”after the first 6 rows, and 13” across. If yours measure very different, you might want to consider a different hook size.
Size
Finished size: approx. 13” across at bottom, 10” tall (not counting hang loop)
Stitches Used: ch (chain), hdc (half double crochet), fpdc (front post double crochet), bpdc (back post double crochet), hdc2tog (half double crochet 2 together), fpdc2tog( front post double crochet 2 together), bpdc2tog (back post double crochet 2 together)
Tutorials are available on here or my youtube channel.
You will work 2 panels and then stitch them together around the top curved edge. optional instructions for a loop at the top are included.
Make sure you don’t work too tightly on the cables, it’s easy to get tense and work them tighter than you mean, or tighter than the rest of the project.
Method
ch 35
Row 1: hdc in second chain from hook, hdc across. ch1, turn (34)
Row 2: hdc 4, fpdc 4, hdc 4, fpdc, hdc, fpdc 6, hdc, fpdc, hdc 4, fpdc 4, hdc 4. ch 1, turn (34)

Row 3: hdc 4, sk 2, bpdc in next 2, working behind – bpdc 2 in skipped 2, hdc 4, bpdc, hdc, sk 2, bpdc in next 2, working behind – bpdc 2 in skipped 2, bpdc in next 2, hdc, bpdc, hdc 4, sk 2, bpdc in next 2, working behind – bpdc 2 in skipped 2, hdc 4. Ch 1, turn (34)
Row 4: hdc 4, fpdc 4, hdc 4, fpdc, hdc, fpdc 6, hdc, fpdc, hdc 4, fpdc 4, hdc 4. Ch 1 turn (34)
Row 5: hdc 4, sk 2, bpdc in next 2, working behind – bpdc 2 in skipped 2, hdc 4, bpdc, hdc, bpdc 2, sk 2, bpdc in next two, working in front – bpdc 2 in skipped 2, hdc, bpdc, hdc4,sk2,bpdcinnext2,workingbehind-bpdc 2inskipped2,hdc4.Ch1,turn (34)
Row 6: hdc 4, fpdc 4, hdc 4, fpdc, hdc, fpdc 6, hdc, fpdc, hdc 4, fpdc 4, hdc 4. Ch 1 turn (34)
Rows 7-10: repeat rows 3-6 (34)
Row 11: hdc2tog, hdc 2, sk 2, bpdc in next 2, working behind – bpdc 2 in skipped 2, hdc 4, bpdc, hdc, sk 2, bpdc in next 2, working behind – bpdc 2 in skipped 2, bpdc in next 2, hdc, bpdc, hdc 4, sk 2, bpdc in next 2, working behind – bpdc 2 in skipped 2, hdc 2, hdc2tog. Ch 1, turn (32)
Row 12: hdc 3, fpdc 4, hdc 4, fpdc, hdc, fpdc 6, hdc, fpdc, hdc 4, fpdc 4, hdc 3. Ch 1 turn (32)
Row 13: hdc2tog, hdc 1, sk 2, bpdc in next 2, working behind – bpdc 2 in skipped 2, hdc 4, bpdc, hdc, bpdc 2, sk 2, bpdc in next two, working in front – bpdc 2 in skipped 2, hdc, bpdc, hdc 4, sk2, bpdc 2 in next 2, working behind – bpdc 2 in skipped 2, hdc 1, hdc2tog. Ch 1, turn (30)
Row 14: hdc 2, fpdc 4, hdc 4, fpdc, hdc, fpdc 6, hdc, fpdc, hdc 4, fpdc 4, hdc 2. Ch 1, turn (30)
Row 15: hdc2tog, sk 2, bpdc in next 2, working behind – bpdc 2 in next 2, hdc 4, bpdc, hdc, sk 2, bpdc in next 2, working behind – bpdc 2 in skipped 2, bpdc in next 2, hdc, bpdc, hdc 4, sk 2, bpdc in next 2, working behind – bpdc 2 in skipped 2, hdc2tog. Ch 1, turn (28)
Row 16: hdc, fpdc2tog, fpdc 2, hdc 4, fpdc, hdc, fpdc 6, hdc, fpdc, hdc 4, fpdc 2, fpdc2tog, hdc. Ch 1, turn (26)
Row 17: hdc, sk 1, bpdc2tog, working behind – bpdc in skipped, hdc 4, bpdc, hdc, bpdc 2, sk 2, bpdc in next two, working in front – bpdc 2 in skipped 2, hdc, bpdc, hdc 4, sk 2, bpdc, working behind – bpdc2tog in skipped 2, hdc. Ch 1, turn (24)
Row 18: hdc, fpdc2tog, hdc 4, fpdc, hdc, fpdc 6, hdc, fpdc, hdc 4, fpdc2tog, hdc. Ch 1, turn (22)
Row 19: hdc2tog twice, hdc 2, bpdc, hdc, sk 2, bpdc in next 2, working behind – bpdc 2 in skipped 2, bpdc in next 2, hdc, bpdc, hdc 2, hdc2tog twice. Ch 1, turn (18)
Row 20: hdc2tog twice, fpdc, hdc, fpdc 6, hdc, fpdc, hdc2tog twice. (14) Finish off.
Finishing
Weave in ends.
Stitch panels together, making sure both right sides face out.
Optional hang loop: Stop stitching in middle of top [slst, ch 10, slst] before continuing to stitch around

One thought on “Hygge just got cozier”